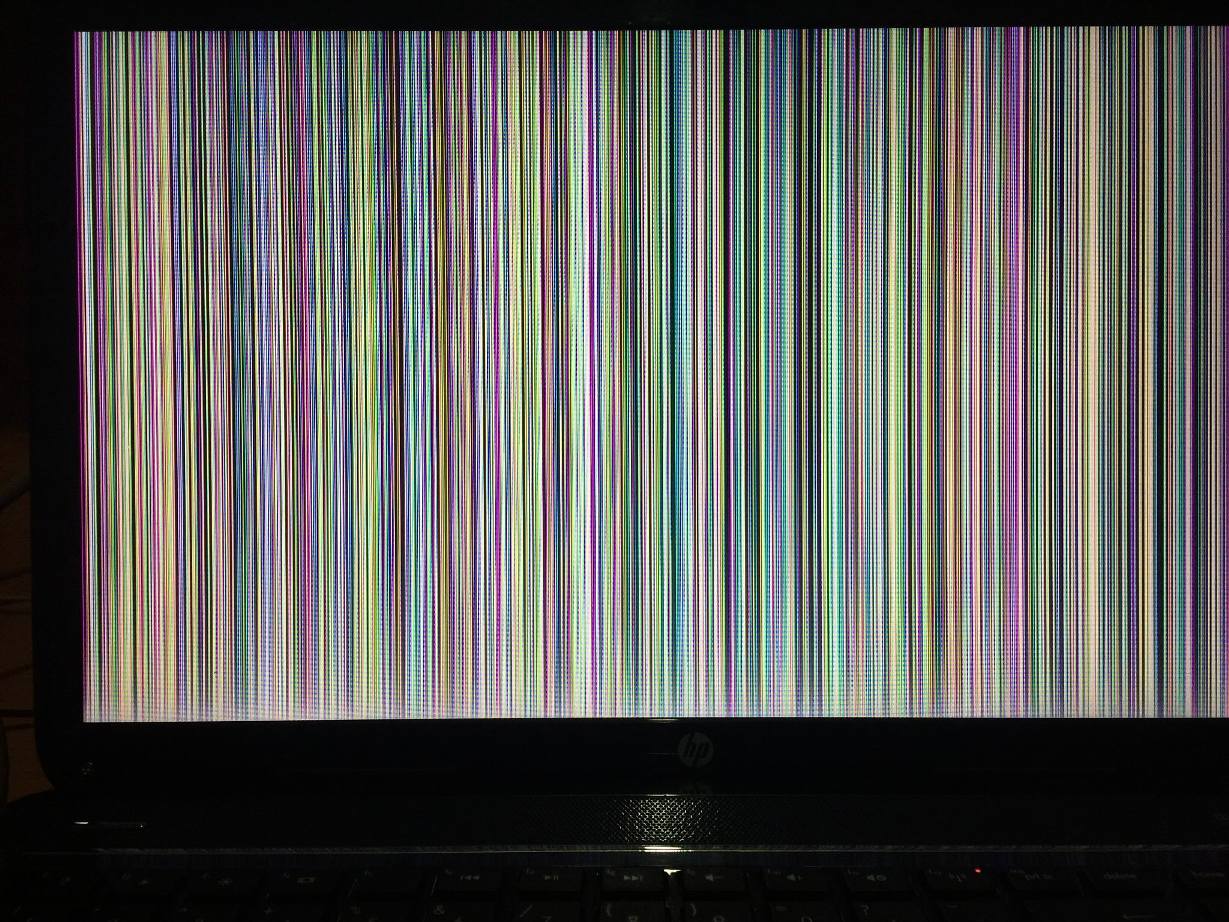
How to Fix Vertical Lines on Laptop Screen?
Laptop display is the most vulnerable and delicate part of the laptop and when there is any issue with it, use of laptop becomes difficult. In this post, we are discussing the most common issue with laptop screens, i.e. vertical lines and ways to fix the issue.
Step 1-
Power off the laptop and disconnect all peripherals attached to it. Remove the battery. Press and hold power button for 15 to 20 seconds to clear all residual power from the laptop because some of the power might be present on the motherboard and it can short the display. Reconnect battery and turn the system on and check if the lines are gone.
Step 2-
Turn the laptop ON and look for the lines on the boot up. If you see vertical lines before windows loads, the problem is with graphics card, LCD video cable or the screen itself. Try to replace the LCD cable and laptop screen. If the issue still persists, contact an expert technician for motherboard repairs.
If the lines appear after windows is booted, then the problem is with windows settings or graphics card software. Right click on bank area of desktop and click display settings and then check for display resolution option inside display tab and choose recommended resolution.
If the problem still persists, scroll down the laptop screen and see "advanced display settings" in the right pane and click the link. In the advanced display settings, you will see refresh rate, lower the refresh rate if the lines disappear.
You can buy any display from PCTECH online shopping portal and get it delivered anywhere in India. Please click at below link to order online,
To resolve this issue, you should contact a skilled and experienced technician who can test it thoroughly and fix it.
Contact PCTECH e-Care for professional laptop repair service with 100% satisfaction.
Need laptop screen? click here

