
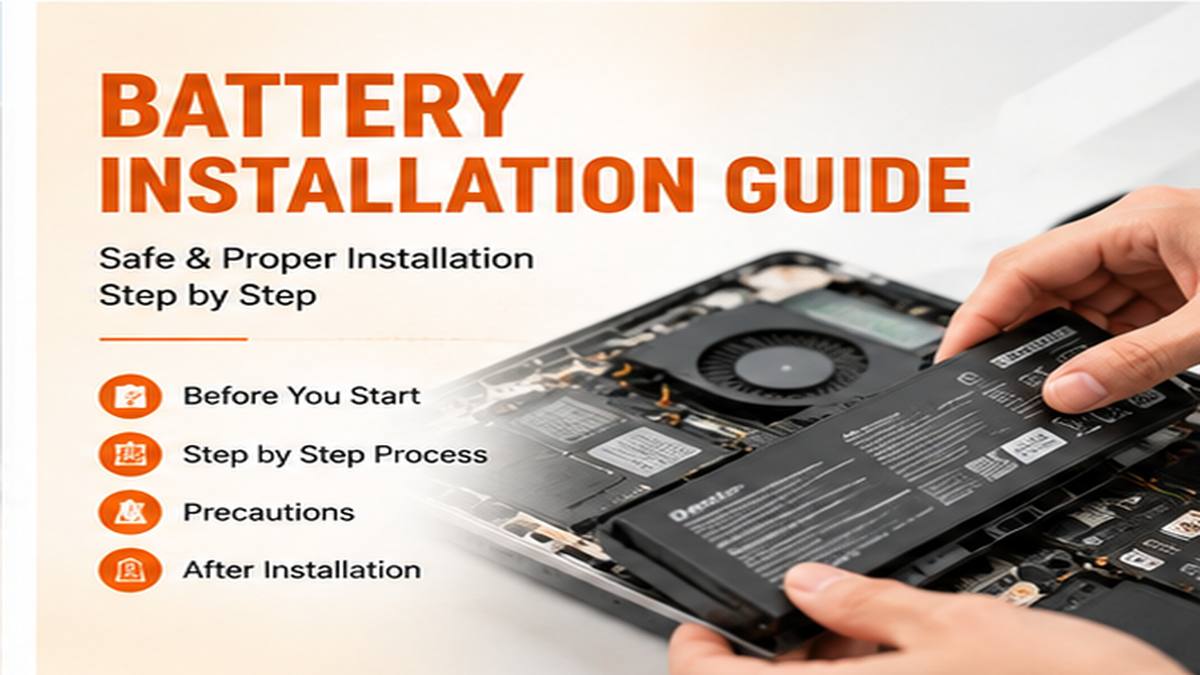
Laptop Battery Installation Guide: How to Replace a Laptop Battery Safely
Learn how to verify laptop battery compatibility, prepare your laptop for battery replacement, install a replacement battery correctly, and check battery detection and charging after installation.
Replacing a laptop battery can restore portable battery performance when the original battery has become worn, damaged, or no longer provides sufficient runtime. However, laptop battery designs and installation methods vary between laptop models.
Before purchasing or installing a replacement battery, always verify the battery part number, laptop model, connector, voltage, capacity, physical dimensions, and other relevant specifications.
Before Installing a Replacement Battery
Confirm that the replacement battery is intended for your exact laptop model. A battery that physically fits inside a laptop is not necessarily electrically or electronically compatible.
- Laptop manufacturer and model
- Battery part number
- Battery voltage
- Battery capacity
- Battery connector
- Connector position
- Physical dimensions
- Mounting holes and fixing points
Check the Battery Part Number
The part number printed on your existing battery is one of the most useful references when selecting a replacement. Compare the complete part number rather than relying only on the laptop model name.
Some laptop models can be available with different battery options, so checking the original battery label is recommended before placing an order.
Check Battery Voltage and Capacity
Compare the voltage and capacity information printed on the original battery with the replacement battery specifications. The replacement must be electrically suitable for the laptop.
Battery capacity may be specified in Wh, mWh, Ah, or mAh depending on the battery and manufacturer.
Shut Down the Laptop
Turn the laptop completely off before beginning the replacement procedure. Disconnect the AC adapter and make sure the laptop is fully powered down.
Do not attempt to remove an internal battery while the laptop is operating unless the manufacturer specifically provides a procedure that allows it.
Prepare the Work Area
Work on a clean, dry, stable surface with adequate lighting. Keep screws and small components organised during disassembly so they can be returned to their correct positions.
Avoid placing tools, screws, or other metal objects directly on the battery or battery connector.
Disconnect the AC Adapter
Remove the AC adapter from the laptop before opening the system. Make sure the charging cable is completely disconnected.
Access the Battery
Depending on the laptop design, the battery may be located underneath the bottom cover or may be accessible through a dedicated battery compartment.
Follow the appropriate service procedure for your particular laptop model.
Disconnect the Existing Battery
For laptops with internal batteries, carefully disconnect the battery connector from the motherboard.
Do not pull on the wires. Hold the connector itself and disconnect it carefully without excessive force.
Remove the Existing Battery
Remove the screws or other securing components holding the battery in place. Once the battery is free, carefully lift it from the laptop.
Inspect the Replacement Battery
Before installing the replacement battery, inspect it for visible physical damage.
- Check the battery casing.
- Check the connector.
- Check the battery cable.
- Check for swelling or deformation.
- Check for cracks or other visible damage.
Position the Replacement Battery
Place the replacement battery in the correct position inside the laptop. Make sure the battery sits flat and that the mounting points align correctly.
Do not force the battery into position. If the battery does not fit correctly, stop and recheck compatibility.
Secure the Battery
Install the original or appropriate mounting screws and secure the battery in its intended position.
Do not overtighten screws, as excessive force can damage the battery, casing, mounting points, or surrounding components.
Connect the Replacement Battery
Carefully reconnect the battery connector to the motherboard. Ensure that the connector is correctly aligned before applying pressure.
Never force a connector into the socket. Incorrect alignment can damage the connector or motherboard.
Check the Battery Connection
After connecting the battery, check that the connector is fully seated and that the battery cable is positioned safely away from moving or sharp components.
Reassemble the Laptop
Carefully replace the laptop's bottom cover and reinstall the screws. Make sure that the cover is correctly positioned before tightening the screws.
First Power-On
Connect the compatible AC adapter and start the laptop. Allow the operating system to load normally.
The laptop may require a short period of time to recognise the replacement battery and update its battery information.
Check Battery Detection
After starting the laptop, check whether the operating system correctly detects the battery.
- Check the battery icon.
- Check the reported battery percentage.
- Check whether the battery is recognised.
- Check whether charging status is displayed.
Check Battery Charging
Connect the compatible AC adapter and confirm that the laptop indicates that the battery is charging.
If charging does not begin, check the battery connector, charger, charging port, battery compatibility, and laptop charging system.
Check Battery Runtime
Once the battery is recognised and charged, use the laptop normally and observe its battery performance.
Actual battery runtime varies depending on laptop hardware, screen brightness, processor workload, applications, wireless connectivity, power settings, battery capacity, and battery age.
Battery Calibration
If the reported battery percentage appears inaccurate, battery calibration may help improve the accuracy of the battery indicator.
Calibration does not restore physical capacity that has already been lost through battery ageing.
If your laptop manufacturer provides a specific battery calibration procedure, follow the manufacturer's recommended instructions.
What If the Battery Is Not Detected?
If the replacement battery is not detected, do not repeatedly force the connector or modify the battery.
First verify the battery part number, laptop compatibility, connector connection, and installation position.
- Confirm the battery connector is properly seated.
- Confirm the battery is compatible with the laptop.
- Check that the battery is correctly positioned.
- Check the laptop's charging system.
- Restart the laptop and check battery detection again.
What If the Battery Does Not Charge?
A battery that is detected but does not charge can be affected by several factors, including the charger, charging port, battery connection, battery compatibility, charging circuitry, or battery condition.
Verify the compatible AC adapter and make sure the battery connector is correctly connected before further troubleshooting.
Important Installation Warning
Laptop battery replacement can involve opening the laptop and working around sensitive electronic components. If you are not familiar with laptop disassembly, professional installation is strongly recommended.
Incorrect installation can damage the battery, connector, motherboard, laptop casing, or other components.
Common Battery Installation Mistakes
- Installing an incompatible battery
- Ignoring the original battery part number
- Forcing the battery connector
- Pulling the battery cable instead of the connector
- Using excessive force while removing the battery
- Pinching the battery cable during reassembly
- Overtightening mounting screws
- Installing a physically damaged battery
- Using an unsuitable charger
Battery Installation Checklist
- Verify the laptop model.
- Verify the battery part number.
- Compare battery voltage.
- Compare battery capacity.
- Check the connector.
- Shut down the laptop.
- Disconnect the AC adapter.
- Remove the existing battery carefully.
- Inspect the replacement battery.
- Position the replacement battery correctly.
- Secure the battery without excessive force.
- Connect the battery carefully.
- Reassemble the laptop.
- Check battery detection.
- Check charging.
- Check normal battery operation.
Final Advice
The most important part of laptop battery replacement is correct compatibility. Always compare the original battery information with the replacement battery before installation.
If you are unsure about compatibility or installation, contact PCTECH Computers for assistance before installing the battery.
